
 I’ve started working on a new portfolio of fitness-related images, and I intend to shoot some of them in a studio. I don’t have a permanent studio, and my budget to rent a studio for personal work is non-existent, so I have elected to use whatever space that is available to me for free….which often means my living room. The problem with my living room, like in many houses, is that it’s a fairly small space for photography and presents a certain group of problems that must be overcome in order to produce quality images.
One of the biggest problems is the fact that since the room is so small, and since most of the walls are white, it is easy to bounce light everywhere and produce ineffective images.
The name of the game here is to find a way to precisely control the light and only allow it to fall where you want it. Here is a diagram I made with a free program I found online at http://www.lightingdiagrams.com/Creator. Take a look at the diagram, to which I have added some explanatory notations, and I’ll discuss the set-up below:

So, to start off….since I am dealing with a room that is about 12 feet across between plain white walls, a large window, and about a ten-foot ceiling at it’s highest point, I had to create the illusion of the light fall-off you would get in an expansive studio. I did this by using negative fill on three sides of the model. I pinned four 2×3-foot black foam-core panels to the ceiling above the model’s head and then used more black foam-core on one side of her and a large black panel created with fabric and a scrim-frame on the other side of her.
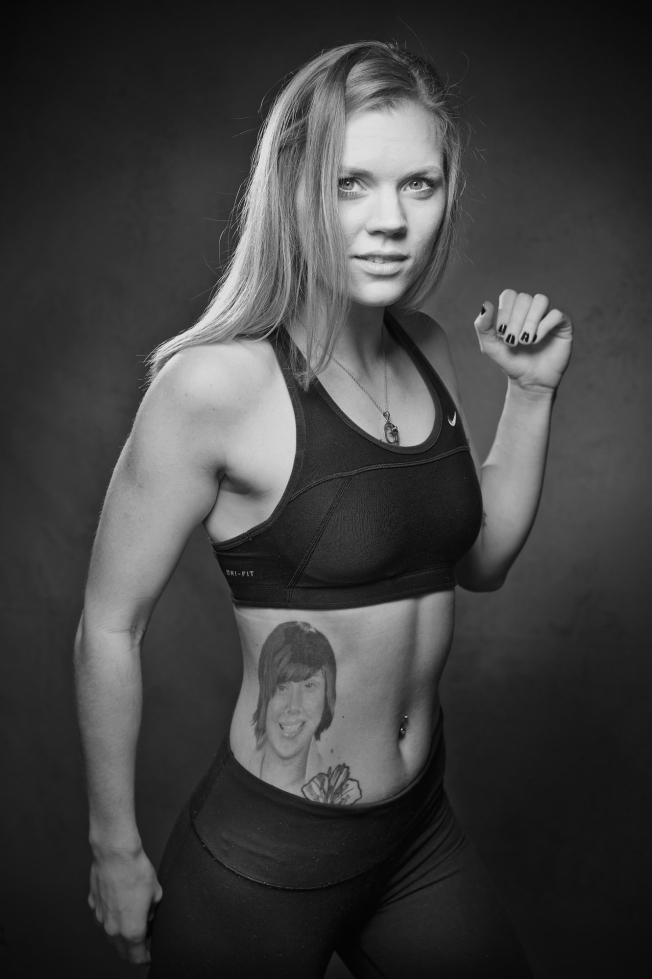
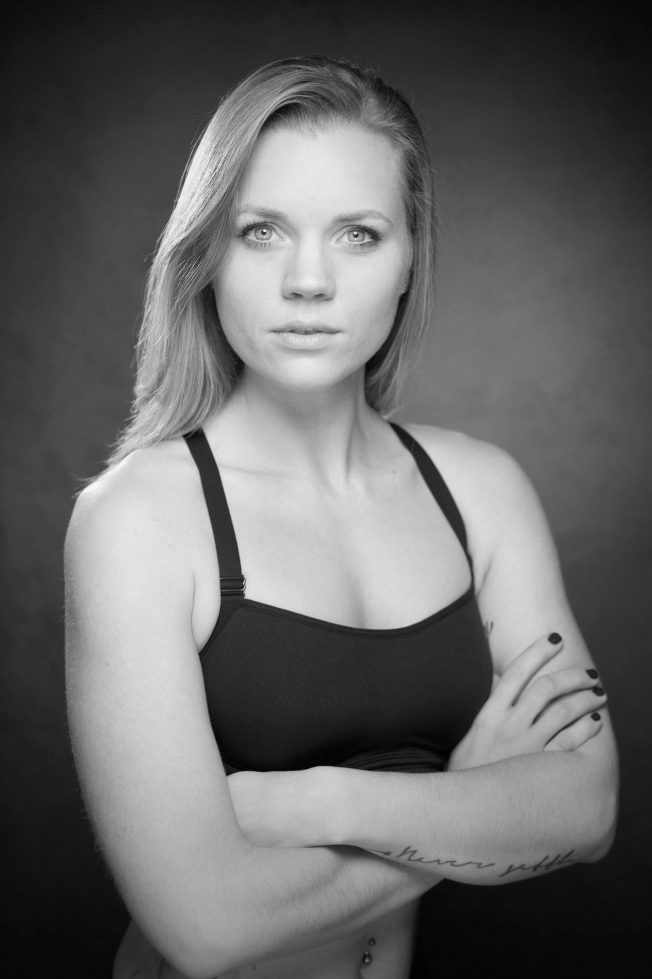
For lighting, I used a Dynalite 4040 head in a diffused beauty dish as the key light. It was positioned above and in front of the model….only about two feet from her, for a butterfly lighting effect. I then provided fill from behind the camera with another 4040 head in a 3×4 soft box that was set to just enough power to fill in the shadows. For the background, I used a third 4040 head aimed at the background from behind the black scrim at camera right from about waist-level, and modified with a 40º grid and a set of barn doors to control extra light spill. For the close-up portraits, I also employed a large silver reflector in front and underneath the model’s face to soften the shadows even more.
The hair light was provided by an ancient Nikon Sb-26 speedlight, which has a built-in optical slave. It was set to a fairly low-power and had no trouble keeping up with the studio strobes on this shoot. I moved the speedlight to either camera-left, or camera-right, or else turned it off completely according to where I wanted the accent light to be.
All of the three strobe heads were controlled by the same 500 watt-second Dynalite pack set to its lowest possible power setting. In addition, being that all of the lights were so close to the model, and to reduce the intensity of the light even more, I put a 2-stop neutral density filter on my lens. This took me from a general exposure of f/5.6-and-a-half to one of f/2.8-and-a-half at ISO 100, which made isolating the model from the background, located only about six feet behind her, much easier to accomplish. I ended up shooting RAW files at f/4 and fine-tuned the exposure in the image-processing stage.

All of the images you see here were produced with a Nikon DSLR and one of two lenses–an 85mm f/1.8G or an old, manual focus 50mm F/2AI. The +2-stop neutral density filter (ND 4) was attached to each lens while it was being used.
I have found that negative fill is a very effective tool for creating the most precise lighting possible in many photographic situations that often seem uncontrollable.
I would like to extend a special thanks to the model, Jaylynne. If you would like to book her for your own shoot, you can reach her through her website: http://jaylynnebryanne.com/
To see more of my work or to book me for your next project, please visit my website: http://www.tomnutterphotos.com
